10-steps to skylight installation
Date: 24/04/17
Ultrasky skylights follow a tried and tested installation process that makes fitting our products a straightforward task for any experienced builder. Here we give you a quick overview of the process, from measuring up correctly to finishing touches. This is not suitable for use as a practical instruction manual and every installer should read our full installation guide before starting a new job.
Measure up
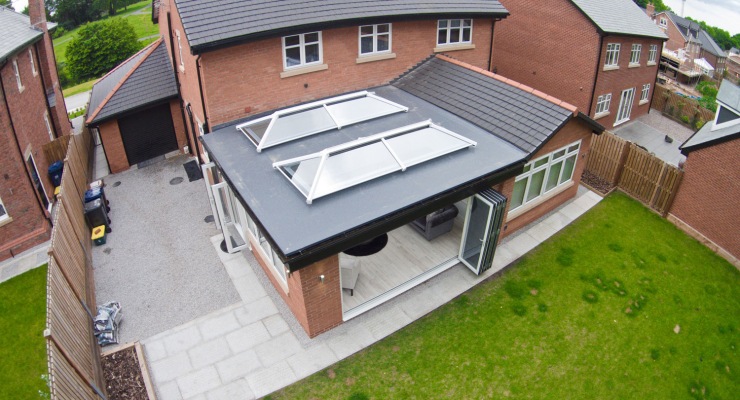
The most critical part of a successful installation comes before you have even placed your order! Measuring up for a skylight is simple but must be done correctly to make sure that the skylight fits perfectly. You can find full instructions on how to measure an existing hole on our homepage. We offer a range of fixed or bespoke sizes, so you can order a skylight to exactly match the dimensions of an existing hole. Alternatively, you can select the size of lantern that you would like before cutting a hole.
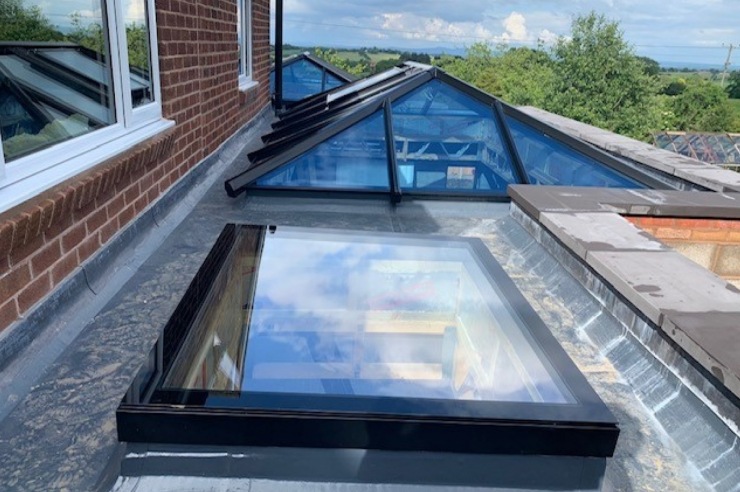
Fit a timber kerb
Our skylights are designed to fit on to a timber kerb installed inside the roof. The kerb should be a minimum of 150mm tall and 70mm wide. Before starting installation check that the kerb is straight and apply a membrane to create a watertight finish. You can do this before your skylight is delivered.
Prepare
To make sure that delivery and installation run as smoothly as possible, spend some time preparing. Read the Ultrasky installation guide carefully to get to know the fitting process. Check the list of tools and materials required the installation guide. Most of the fittings are supplied with the lantern, but there are some materials you need to supply, e.g. the timber kerb and sealant.
Delivery
We deliver our skylights in parts, so that they can be easily lifted in to place without the need for a crane. You can name a delivery date when you order your skylight.
Silicone
Fitting Ultrasky skylights requires significantly less silicone than for other similar products on the market, making installation quicker and less messy. However some silicone is still required to seal the unit and should be applied at a few different points in the process as specified in the installation guide. The first application of silicone should be made to the outer perimeter of the kerb before any further additions are made.
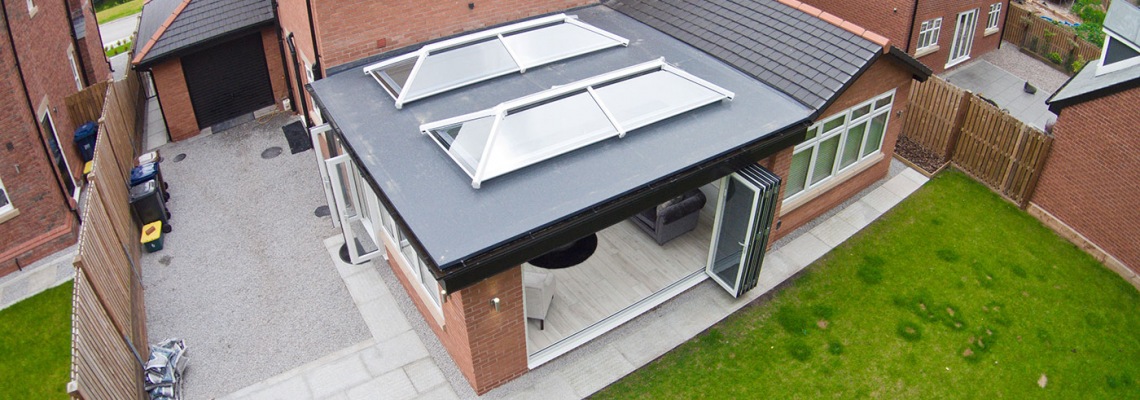
Beams
The first parts of the skylight to be installed are the ridge and beams. Ultrasky roof lanterns have less bars than competing brands, to allow maximum light in to the room below. They are secured to the kerb with an eaves rail and fitted together securely with nuts and bolts. Ensure that all the nuts are fully tightened before moving on to the glazing stage.
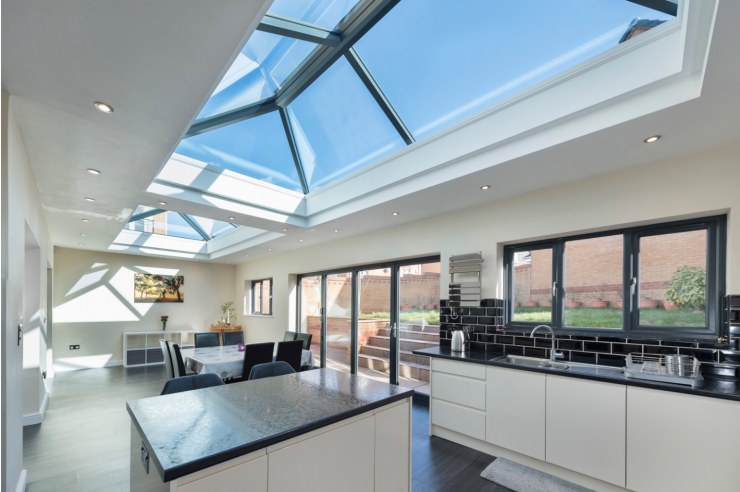
Glazing
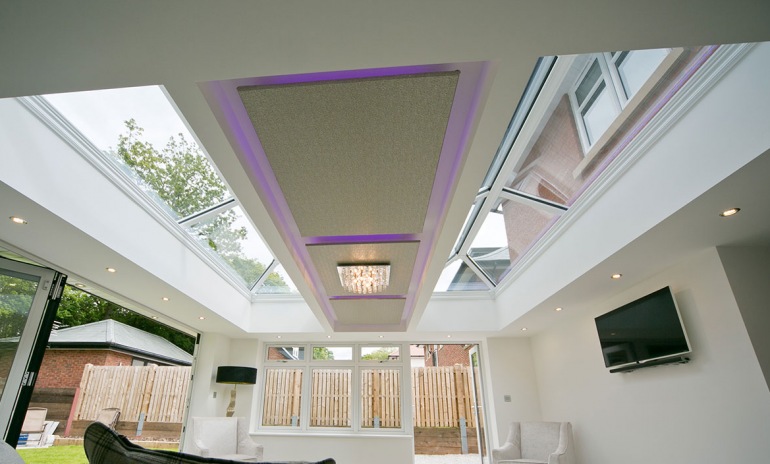
Ultrasky use superior Conservaglass glazing that is highly thermally efficient, toughened and self-cleaning. Before fitting the glazing a sealant should be applied – it is important that only MS polymer sealant should be used on self cleaning glass. Make sure that the eaves and the ridge have been properly prepared as described in the installation guide then carefully position the glass units and secure.
Weather proofing
Once the glazing is in place make sure that the glass is clean and dry before moving on to finishing the ridge weather proofing and fitting the weathering shield. The top caps, ridge cap and end caps can simply be clipped in to place by hand and a final application of sealant should be made to finish the proofing.
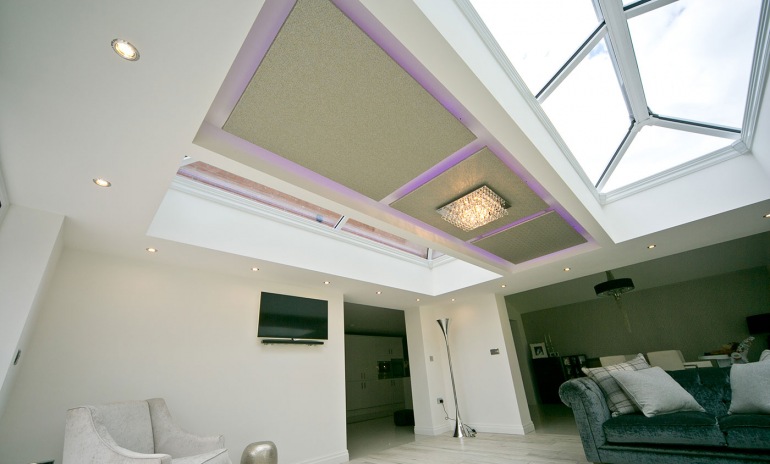
Internal cladding
The last stage of the installation process is fitting the internal ridge claddings to the inside of the roof lantern to ensure a clean and elegant finish. The internal cladding comes in a choice of either white PVC or powder coated aluminium in white, anthracite grey or satin black to suit the style of the property.
And finally…
And step 10? All that’s left to do is sit back and admire your handiwork (with a cup of tea and a biscuit of course!).
We’re confident that you will find fitting an Ultrasky product a smooth and hassle-free process, but if you do have any questions before or after delivery you can call us, 09.00-5.00, five days a week and our experienced technical support team will be happy to help.
Your order
Now that you know how straightforward it is to fit an Ultrasky roof lantern, you’ll be pleased to hear that placing your order is quick and easy too. When you have decided on the size, colour and materials you would like, you can order online, pay by credit or debit card and select your delivery date. We’ll always call to confirm your order and we will usually start manufacturing your skylight within 24 hours.
Call our sales team on 01200 452 246 to discuss your order today.
Remember, this article is only a general overview of the installation process. When you place your order you will receive a full installation guide with a detailed explanation of the process.
Buy Skylights Online
Order your Ultrasky Skylight online now or call 01200 452 246
to speak to the Ultrasky sales hotline.
Order lines open Monday - Friday 9.00am - 5.00pm
Ultrasky Case Studies
Dominic Crossthwaite, New Skylight Installation
I have many clients asking for ways to improve the amount of light coming into their home,... Read More